

In our step-by-step guide, we will walk you through troubleshooting common issues with solar-powered outdoor charging stations. We understand that using these charging stations can be a convenient and eco-friendly way to power your devices when you are outdoors. However, like any technology, these stations may encounter problems from time to time. That’s why we have put together this guide to help you diagnose and fix these issues with ease. By following our instructions, you will be able to get your solar-powered outdoor charging station up and running smoothly in no time. So, let’s dive right in and start troubleshooting!
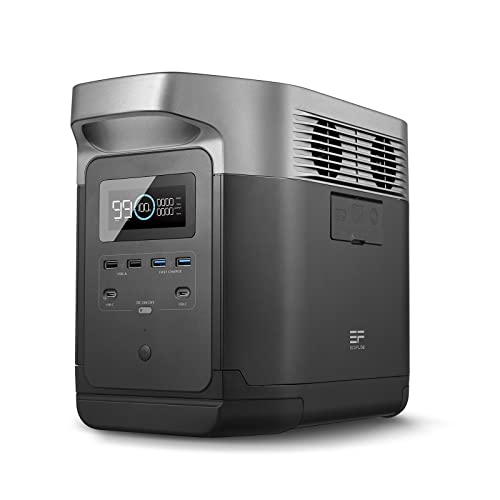
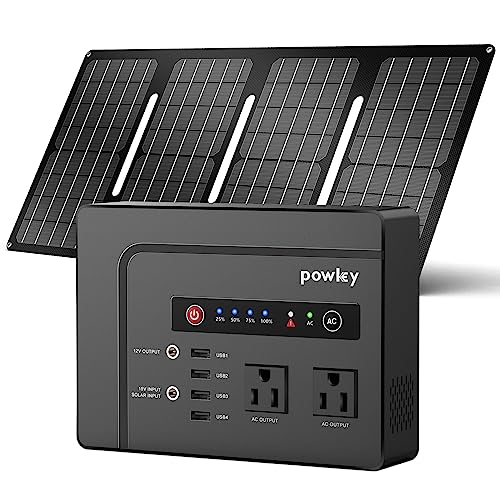
Top-selling solar outdoor charging stations


Check power source
To ensure that the solar panel is receiving adequate sunlight and is connected properly to the charging station, follow these steps:
- Position the solar panel in an area that receives direct sunlight throughout the day. Avoid obstructions such as trees, buildings, or shadows that could block the sunlight.
- Check the connection between the solar panel and the charging station. Ensure that the cable is securely plugged into both the solar panel and the charging station.
- Inspect the cable for any signs of damage or wear. If there are any visible issues, replace the cable with a new one to ensure a proper connection.
- Monitor the solar panel throughout the day to ensure that it is receiving sufficient sunlight. Adjust the angle and position of the panel if needed to maximize sunlight exposure.
By following these instructions, you will be able to verify that the solar panel is receiving adequate sunlight and is properly connected to the charging station.


Inspect connections
To inspect all the cables and connections, begin by visually examining each cable to ensure it is properly connected. Check for any loose or disconnected cables. Next, examine the connectors themselves, looking for any signs of damage such as bent pins or frayed wires. Finally, gently tug on each cable to ensure a secure connection.
Clean solar panel
To remove any dirt, dust, or debris from the solar panel, carefully wipe the surface using a soft cloth or brush. Begin by gently brushing away loose particles with the brush, ensuring not to apply excessive force or pressure. Then, follow up by using the soft cloth to gently wipe away any remaining dirt or grime. Take care to use a non-abrasive cloth or brush to avoid scratching the surface of the solar panel. For example, you can use a microfiber cloth or a soft-bristle brush.


Check battery status
To verify the battery status, start by checking the LED indicators on the device. These indicators usually have different colors or flashing patterns to indicate the battery level. For example, a green light might mean the battery is fully charged, while a red light could indicate a low battery.
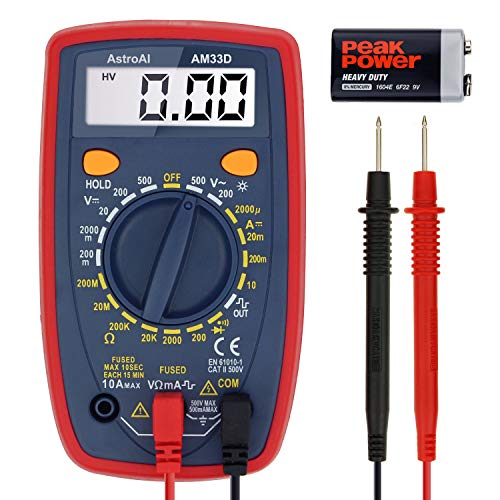
If your device doesn’t have LED indicators or you want a more accurate measurement, you can use a multimeter to measure the battery voltage. First, set the multimeter to the voltage measurement mode and ensure it is within the battery’s voltage range. Then, attach the positive (red) probe to the battery’s positive terminal and the negative (black) probe to the negative terminal. The multimeter will display the battery’s voltage, allowing you to determine its status.
By following these steps, you can easily verify the battery status of your device using either the LED indicators or a multimeter.
Reset the charging station
To reset the charging station, follow these steps:
- Turn off the charging station: Locate the power switch or button on the charging station and switch it off. This will ensure that the system is completely powered down before resetting.
- Disconnect the solar panel and battery: Locate the cables connecting the solar panel and battery to the charging station. Carefully unplug these cables to disconnect them from the system. Make sure to handle the connections gently to prevent any damage.
- Wait for a few minutes: Allow the charging station to remain unplugged for at least a few minutes. This will help clear any residual charge and ensure a complete reset of the system.
- Reconnect everything: After the waiting period, reconnect the solar panel and battery cables to the charging station. Ensure that all connections are secure and properly plugged in.
By following these steps, you can successfully reset the charging station and resolve any issues that may have been occurring.


Check for obstructions
To ensure optimal sunlight reception for your solar panel, it is important to check for any obstructions that might block the sunlight, such as trees or buildings. Firstly, survey the area surrounding the solar panel and identify any potential obstructions. Next, adjust the position or orientation of the panel if possible to avoid shading. Finally, clear any obstructions that cannot be avoided by trimming or pruning trees, or by considering alternative installation locations.
Test with another device
To determine if the issue lies with the device or the charging station, try charging another device using the solar-powered outdoor charging station. Follow these steps:
- Connect the charging cable of the device you want to test to the charging station.
- Ensure that the solar panels are exposed to direct sunlight for optimal charging.
- Monitor the device to see if it starts charging.
- If the device charges successfully, this indicates that the charging station is functioning correctly, and the issue lies with the original device.
- If the device does not charge, it suggests that the problem may be with the charging station itself.
By testing another device, you can narrow down and identify where the actual issue lies, enabling you to take appropriate steps to resolve it.
Contact support
If the issue persists, contact the manufacturer or customer support for further assistance. Provide them with detailed information about the problem you are experiencing and any troubleshooting steps you have already tried. They will be able to guide you through additional troubleshooting steps or provide further instructions to resolve the issue.
Wrapping Up the Solutions
In conclusion, we have explored the best ways to troubleshoot common issues with a solar-powered outdoor charging station. We discussed the importance of regular inspection and maintenance, such as checking the connections and cleaning the solar panels. We also highlighted the significance of proper positioning, ensuring that the station is exposed to maximum sunlight. Additionally, we provided useful tips for diagnosing and rectifying specific problems, such as battery issues or faulty wiring. By following these troubleshooting steps, you can ensure that your solar-powered outdoor charging station functions optimally, providing renewable energy for all your outdoor charging needs.
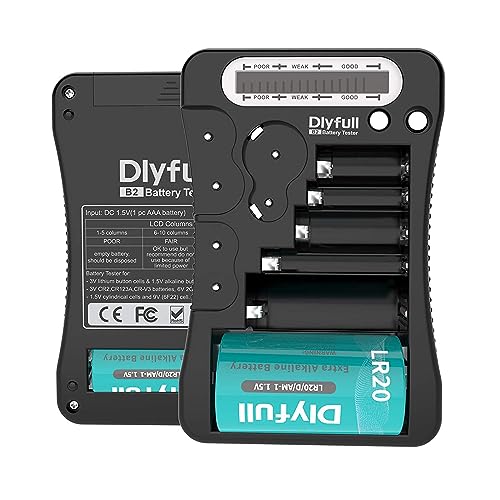
Necessary Equipment


Solving Solar Troubles
How to Use Solar-Powered Outdoor Charging Stations
- Choose the right location: Find a spot that receives ample sunlight throughout the day, preferably open and free from obstructions such as trees or buildings that cast shadows
- Place the device in direct sunlight: Ensure that the solar panels are directly exposed to the sun’s rays as much as possible, as this will optimize the charging efficiency
- Connect your device to the charging station: Use the appropriate charging cable to connect your electronic device to the charging station. Check if the station has different ports or cables compatible with your device’s charging port
- Monitor the charging progress: Some solar-powered charging stations may have LEDs or indicators to show the charging status. Keep an eye on these indicators to track the progress of your device’s charging
- Keep the station clean and protected: Regularly clean the solar panels of the charging station to avoid dust or debris hindering the sunlight absorption. Additionally, store the station in a safe and dry place when not in use to protect it from environmental elements
Frequently Asked Questions about Solar-powered Outdoor Charging Stations
Are solar-powered outdoor charging stations easy to install?
Yes, solar-powered outdoor charging stations are generally easy to install. These stations are designed to be self-contained and can be set up in various locations with minimal effort. The installation process typically involves mounting the charging station in a suitable location, connecting it to a power source, such as a battery or grid connection, and ensuring proper wiring and grounding. The ease of installation can vary depending on the specific model and manufacturer, but overall, solar-powered outdoor charging stations are designed to be user-friendly and require basic installation skills.
Can multiple devices be charged simultaneously on a solar-powered outdoor charging station?
Yes, multiple devices can be charged simultaneously on a solar-powered outdoor charging station. These charging stations are designed to have multiple charging ports, ranging from a few to several ports, allowing users to connect and charge multiple devices at the same time. The number of devices that can be charged simultaneously depends on the specific model and capacity of the charging station. Solar panels, which are integrated into the charging station, convert sunlight into electricity to power the charging ports. This renewable energy source enables users to charge their devices even in outdoor locations without access to electricity. Additionally, some solar-powered charging stations may also have built-in batteries to store excess energy for nighttime or cloudy days, ensuring a reliable power supply.