

Solar charge controllers are an essential component of a solar power system, as they regulate the flow of energy from the solar panels to the batteries. Our step-by-step guide is designed to help you troubleshoot any issues you may encounter with your solar charge controller. Whether it’s a problem with the display, connection, or charging process, we are here to guide you through the troubleshooting process. By following our instructions, you’ll be able to identify and resolve common issues, ensuring your solar power system is functioning optimally. Don’t let technical problems dim your solar power experience – let us guide you through the troubleshooting process and empower you to harness the full potential of your solar energy system.
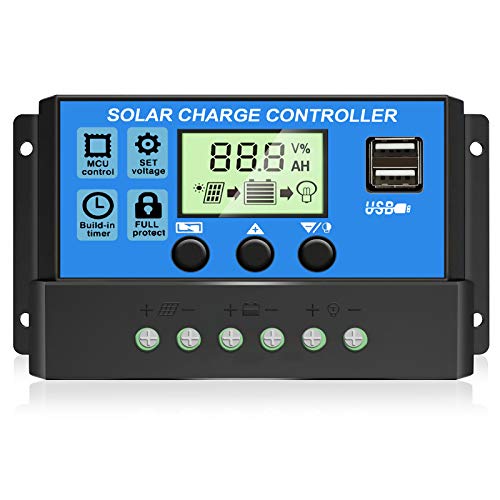
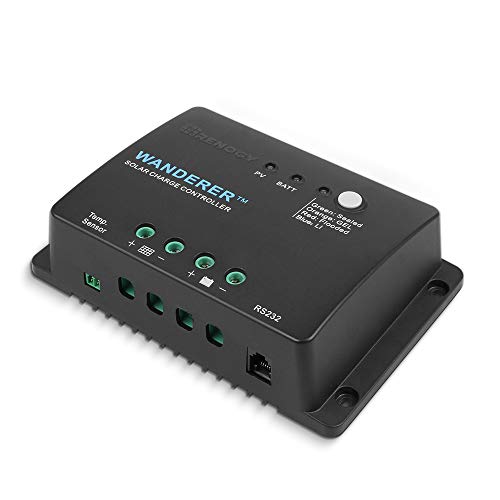
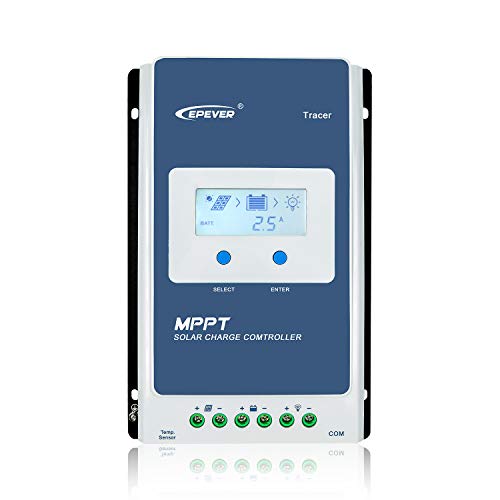
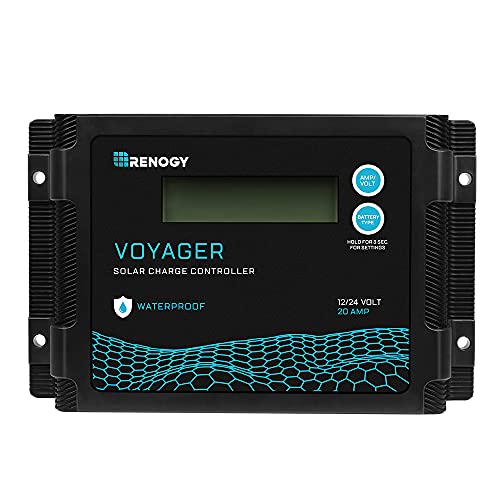
Top Solar Charge Controller Options

Check for power supply
To ensure the power supply of the solar charge controller, first, check if it is receiving power from the solar panels. Examine the connections between the panels and the charge controller and ensure they are secure. Additionally, make sure there is sufficient sunlight reaching the panels, as low light conditions can affect the power supply.


Inspect wiring connections
To inspect the wiring connections, start by examining the wires between the solar panels, battery, and charge controller. Look closely for any loose or damaged wires that could be the source of the problem. For instance, check if any wires are disconnected or if there are any signs of fraying or melting. Ensure that all connections are securely tightened and in good condition. If you find any issues, such as loose or damaged wires, they should be repaired or replaced accordingly.
Verify battery status
To verify the battery status, follow these steps:
- Check the battery voltage:
- Use a multimeter to measure the voltage across the battery terminals.
- Ensure that the voltage is within the acceptable range specified by the battery manufacturer.
- Check the state of charge:
- If the battery has an integrated charge level indicator, refer to it to determine the state of charge.
- Alternatively, use a battery tester or an electronic device that can measure the charge level.
- Ensure proper battery connection:
- Inspect the battery terminals for any signs of corrosion, dirt, or loose connections.
- Clean the terminals if necessary and ensure they are securely attached to the battery posts.
- Verify sufficient battery charge:
- If the battery voltage is low or the charge level is insufficient, connect the battery to a charger and monitor the charging process.
- Allow the battery to charge until it reaches the desired voltage or charge level for optimal performance.
Remember to always follow safety precautions when working with batteries, such as wearing protective gloves and eye gear.


Examine display or indicators
If your solar charge controller has a display or indicators, check for any error messages or abnormal readings. Look for any numbers, symbols, or codes that are outside the expected range. Refer to the user manual for troubleshooting specific error codes. Identify the error code and find the corresponding troubleshooting steps in the manual.**
Reset the controller
To reset the solar charge controller, simply disconnect it from the power source and wait for a few minutes. After the waiting period, reconnect the controller to the power source. This procedure is recommended when encountering minor issues or glitches with the controller. Disconnect and reconnect the controller to initiate a reset.


Test the load output
To test the load output of the charge controller, follow these steps:
- Connect a load, such as a light bulb or a fan, to the load terminals of the charge controller.
- Ensure that the load is securely connected and properly rated for the output of the charge controller.
- Turn on the charge controller and check if the load is receiving power. Verify if the load is operating as expected.
- If the load is not receiving power, double-check the connections and make sure the charge controller is properly configured.By following these steps, you can easily verify if the load output of the charge controller is functioning properly.
Inspect temperature and ventilation
To ensure the proper functioning of the charge controller, it is important to inspect its temperature and ventilation. Here are the steps you should follow:
- Check the temperature of the charge controller. Feel the surface of the controller to see if it feels excessively hot. If it does, it may be overheating, which can negatively affect its performance. In such cases, take the necessary steps to cool it down, such as providing additional ventilation or relocating it to a cooler area.
- Inspect the ventilation around the charge controller. Look for any obstructions or blockages that may restrict the airflow and cause overheating. Ensure that there is enough space around the controller for proper air circulation. If there are any obstacles, remove them to improve ventilation.
- Consider relocating the charge controller if necessary. If you find that the temperature is consistently high or there are recurring ventilation issues, it may be beneficial to move the controller to a different location. Find a well-ventilated area with a lower ambient temperature to prevent overheating.
By following these steps and ensuring appropriate temperature and ventilation for your charge controller, you can optimize its performance and prolong its lifespan.
Measure solar panel output
To measure the voltage and current output of the solar panels, we will need to use a multimeter. Start by connecting the positive lead of the multimeter to the positive terminal of the solar panel and the negative lead to the negative terminal. Set the multimeter to the appropriate DC voltage range and take note of the reading. Next, switch the multimeter to the current measurement mode and connect it in series with the solar panel, taking care to ensure proper polarity. The current reading displayed on the multimeter will indicate the output of the solar panel. It is important to compare these readings with the specifications provided by the manufacturer to ensure that the solar panel is functioning as expected. For example, if the manufacturer specifies that the panel should output 12 volts and 5 amps, the readings obtained should be close to these values.
Check for firmware updates
Visit the manufacturer’s website: Go to the official website of the manufacturer of your solar charge controller. Look for a “Support” or “Downloads” section on the website.
Check for firmware updates: In the support or downloads section, search for any available firmware updates specifically for your model of solar charge controller. Look for a “Firmware” or “Software” category.
Download the firmware update: If there are any firmware updates listed, click on the download link to access the firmware file. Make sure to select the correct firmware version for your specific controller model.
Update the firmware: Follow the manufacturer’s instructions to update the firmware of your solar charge controller. This typically involves connecting the controller to your computer or using a USB drive to transfer the firmware file to the controller. Make sure to carefully follow the step-by-step instructions provided by the manufacturer to ensure a successful firmware update.
Updating the firmware of your solar charge controller can enhance its compatibility and address any performance issues that may arise. It is important to regularly check for firmware updates to keep your controller up-to-date and functioning optimally.
Contact technical support
If all troubleshooting steps have been followed and the issue persists, contact the manufacturer’s technical support for further assistance. To do this, locate the manufacturer’s contact information such as their phone number or email address. Reach out to their technical support team and provide them with a detailed description of the issue you are facing, including any error messages or steps you have already taken to resolve it. Be prepared to provide them with any necessary product information, such as the model number or software version. Their technical support team will then guide you through additional troubleshooting steps or arrange for further assistance if needed.
Key takeaways and final thoughts
In conclusion, we have explored the essential steps to troubleshoot a solar charge controller. We have learned the importance of identifying common issues, such as loose connections, incorrect wiring, or faulty components. By following the troubleshooting methods outlined in this guide, we can effectively diagnose and fix these issues to ensure the optimal performance of our solar charging systems.
However, it is crucial to remember that prevention is always better than cure. Regular maintenance and proper installation of solar charge controllers play a vital role in preventing potential problems. By inspecting and cleaning the system, checking for loose connections, and adhering to the manufacturer’s instructions during installation, we can significantly reduce the likelihood of encountering issues in the first place.
Taking proactive steps to maintain and install solar charge controllers correctly will not only enhance the efficiency of our solar systems but also extend their lifespan. This will ultimately lead to a more reliable and cost-effective renewable energy solution for our homes or businesses.
In conclusion, let’s prioritize the regular maintenance and proper installation of solar charge controllers to ensure a trouble-free and efficient solar charging experience.
Essential equipment


Practical Solutions
Instructions for setting up and operating a solar charge controller
- Familiarize yourself with the solar charge controller: Read the user manual that comes with your solar charge controller to understand its functions, features, and specifications. This will help you make the most of your system
- Connect the solar panels: Connect the solar panels to the charge controller by connecting the positive (+) and negative (-) leads from the panels to correspondingly labeled terminals on the controller. Make sure the polarity is correct to prevent damage to the system
- Connect the battery: Connect the battery to the designated terminals on the charge controller, ensuring that the positive (+) and negative (-) terminals are connected correctly. This allows the charge controller to regulate the charging process and protect your battery from overcharging or deep discharging
- Set up the charge controller: Depending on the type and model of your charge controller, you may need to go through a setup process. This can include configuring charging parameters such as battery type (e.g., flooded, sealed, gel), charging voltage, and load control settings. Refer to the user manual for instructions specific to your charge controller
- Monitor and maintain: Keep an eye on the charge controller’s display or indicators to monitor its operation and ensure that your solar panels are generating power, the battery is charging properly, and the load is being supplied with power efficiently. Additionally, perform regular maintenance checks, such as cleaning the solar panels and inspecting the connections, to ensure optimal performance and longevity of the system
- Remember, this is a general guide, so it’s important to consult the specific instructions provided by the manufacturer of your solar charge controller for precise information regarding its usage and functionality