


Are you planning to harness the power of the sun for your RV or boat? We have created a step-by-step guide to help you select the best charge controller for your solar panels. In this guide, we will take you through the process of understanding charge controllers, evaluating your power needs, and selecting the right controller for your setup. We understand that choosing the right charge controller can be overwhelming, so we want to simplify the process and make it accessible for everyone. By following our guide, you can ensure that you are getting the most out of your RV solar panels and maximizing the efficiency of your system.
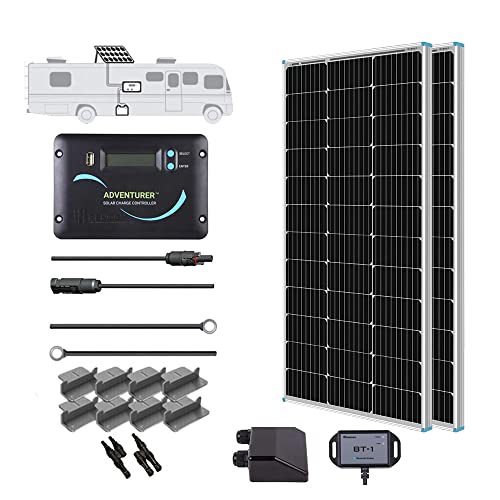
Top-rated solar solutions for mobile homes


Understanding the basics of a charge controller
A charge controller is a crucial component in an RV solar panel system. Its main function is to regulate the current flowing between the solar panels and the battery bank. Without a charge controller, the solar panels can overcharge the batteries, leading to damage and reduced battery lifespan. Furthermore, it prevents reverse current flow from the batteries to the solar panels during periods of low or no sunlight.
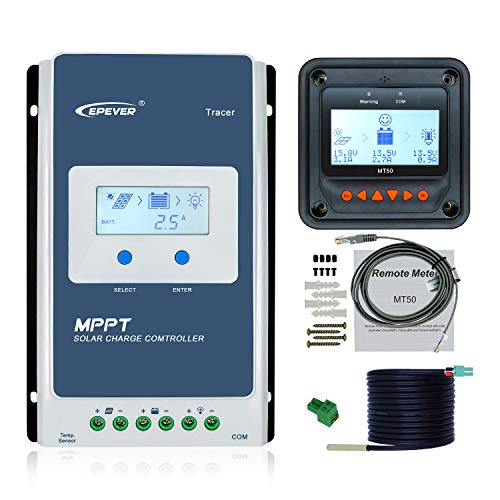
There are different types of charge controllers available in the market. The most basic type is the shunt or series charge controller, which is cost-effective and suitable for smaller systems. It regulates the flow of current by allowing excess power to dissipate as heat. On the other hand, pulse width modulation (PWM) charge controllers are more sophisticated and offer improved efficiency. They rapidly switch the charging current on and off, ensuring that the battery receives a constant charge. Maximum power point tracking (MPPT) charge controllers provide the highest efficiency of all. They optimize the solar panel’s output by dynamically adjusting the voltage and current for maximum power transfer. MPPT charge controllers are ideal for larger systems with higher voltage and current capacities.


Determining the power needs of your RV
To calculate your daily power consumption for running your RV appliances and devices using solar power, you will need to follow these steps:
- Make a list of all the appliances and devices you plan to run in your RV. This can include items such as the refrigerator, air conditioner, lights, water pump, television, microwave, and any other electronics or equipment you may have.
- Determine the power consumption of each item on your list. This information can usually be found on the appliance or device itself or in its user manual. Look for the wattage, which represents the amount of power the item consumes when in use. Note down the wattage for each item.
- Estimate the daily usage for each appliance and device. Think about how long you typically use each item on a daily basis. For example, if you use the lights for an average of 4 hours, the air conditioner for 6 hours, and the refrigerator constantly, take note of these estimates in hours.
- Multiply the wattage of each item by its estimated daily usage in hours. This will give you the total watt-hours consumed by each item per day.
- Add up the total watt-hours for all the items on your list. This will give you the total daily power consumption in watt-hours.
By following these steps, you will be able to determine your daily power consumption for running your RV appliances and devices using solar power. This information will help you accurately size and select your solar power system based on your energy needs.

Matching the charge controller specifications
Educate readers on the key specifications to consider when selecting a charge controller. When choosing a charge controller, there are several important specifications to keep in mind. First, you should consider the maximum input voltage and current. The charge controller you choose should be able to handle the maximum voltage and current that your solar panels can generate. This ensures that the charge controller can effectively regulate the charging process and prevent overcharging of the batteries.
Next, battery voltage compatibility is another crucial consideration. Different charge controllers are designed to work with specific battery voltages, such as 12V, 24V, or 48V. It is important to select a charge controller that matches the voltage of your batteries to ensure optimal performance and efficient charging.
Finally, the charging algorithm of the charge controller is an important factor to consider. The charging algorithm determines how the charge controller charges the batteries, including the different stages of charging and the voltage and current levels at each stage. It is recommended to choose a charge controller with a charging algorithm that is compatible with the type of batteries you have, whether it is flooded lead-acid, gel, or lithium-ion batteries.
By considering these key specifications, you can ensure that you select a charge controller that is suitable for your specific solar system setup and battery requirements, allowing for efficient and reliable charging.


Considering additional features and functionality
When selecting the best charge controller for an RV solar panel system, it is important to consider additional features that can greatly enhance the performance and functionality of the system. One such feature is temperature compensation. As temperatures fluctuate, the charging voltage of the solar panels changes as well. Temperature compensation feature allows the charge controller to automatically adjust the charging voltage according to the surrounding temperature, ensuring optimal charging efficiency regardless of the weather conditions. This feature is particularly useful in areas with extreme temperature variations as it prevents overcharging or undercharging of the battery.
Another important feature to consider is load control. Load control enables the charge controller to directly manage and distribute power to various devices or appliances connected to the system. With load control, the charge controller can prevent the battery from being over-discharged by automatically disconnecting or reducing power to the load when the battery voltage drops to a certain level. This helps to prolong the battery life and ensures that essential appliances or devices are powered even in low battery situations.
Communication capabilities are also worth considering when choosing a charge controller. Some charge controllers are equipped with communication ports or wireless connectivity, allowing you to monitor and control the system remotely through a computer, smartphone, or tablet. This feature provides convenience and flexibility, as you can easily access real-time data such as battery status, solar panel performance, and charging statistics. Additionally, communication capabilities often come with advanced settings and customization options, giving you greater control over the operation and performance of your RV solar panel system.
By considering these additional features like temperature compensation, load control, and communication capabilities, you can select a charge controller that will optimize the efficiency, longevity, and convenience of your RV solar panel system.


![[2023 Upgraded] 30A MPPT Solar Charge Controller, 12V/ 24V Solar Panel Intelligent Regulator with Adjustable LCD Display Dual USB Port Timer Setting Auto Parameter](https://m.media-amazon.com/images/I/81RiXLIpcGL._SS520_.jpg)
Researching and comparing available charge controllers
Researching and comparing available charge controllers is an important step in making an informed decision. To conduct thorough research, start by determining your specific needs and understanding the different features and specifications of charge controllers. Begin by researching different brands and models that are available in the market. Look for reputable manufacturers and check if they have a good track record in the industry. Reading customer reviews can provide valuable insights into the real-life experiences of users. Consider both positive and negative reviews to get a comprehensive understanding of the performance, reliability, and durability of different charge controllers.
When comparing different brands and models, pay attention to key features such as maximum voltage and current ratings, battery compatibility, efficiency, and protection mechanisms. For example, if you have a 12-volt battery system, look for a charge controller that can handle at least 12 volts. Consider your power requirements and make sure the charge controller is capable of handling the load you intend to connect.
Reading customer reviews can help in understanding the user experience and the overall satisfaction level of a particular charge controller. For instance, if multiple customers mention problems with the durability or performance of a certain model, it may indicate potential issues with that product. By comparing the experiences and opinions of different users, you can gain a more objective perspective and make a more informed decision.


Choosing the Right Charge Controller
In conclusion, selecting the best charge controller for RV solar panels is crucial in ensuring optimal efficiency and performance. Throughout this guide, we have emphasized the importance of considering factors such as system voltage, charging capacity, and types of charge controllers available. By choosing the right charge controller, you can protect your batteries, prevent overcharging, and prolong their lifespan. Remember to match the voltage of the panels and the battery bank, and consider features such as MPPT or PWM technology to enhance the overall performance. So, make an informed decision and enjoy the benefits of a well-matched charge controller for your RV solar panels.
Choosing the right charge controller
Step-by-Step Guide to Harnessing Solar Power for Mobile Homes and Watercraft
- Determine your power needs: Before using solar power for your RV or boat, it is important to assess your power requirements. Consider the appliances or devices you plan to run and calculate the total power consumption. This will help you determine the size of the solar panel and battery bank you need
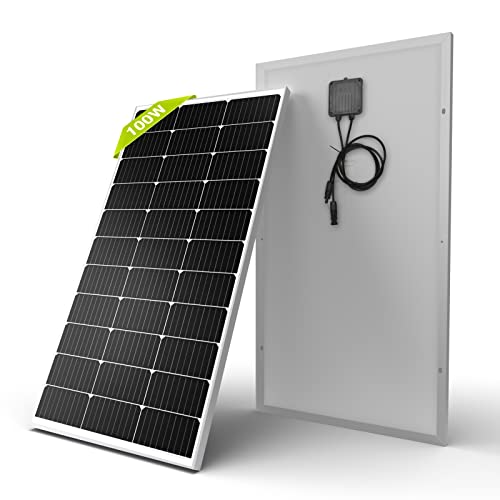
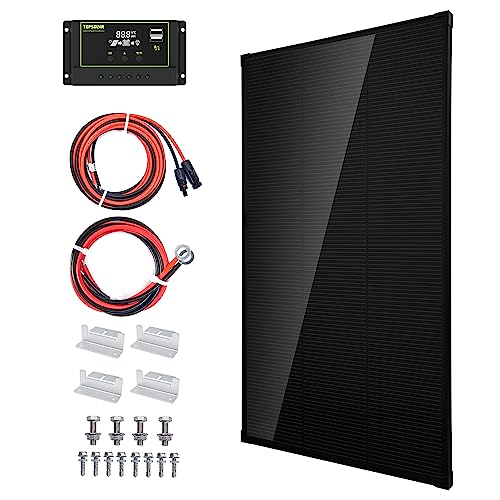
- Select the right solar panels: Look for solar panels specifically designed for RVs and boats, as they are often more compact and easier to install. Monocrystalline or polycrystalline solar panels are commonly used, with monocrystalline being more efficient but also more expensive. Ensure the panels have a sufficient wattage capacity to meet your power needs
- Install the solar panels properly: Find the optimal location on your RV or boat where the solar panels can gather maximum sunlight. This is usually on the roof, but it could also be on a mounted rack or a portable stand. Install the panels securely, following the manufacturer’s instructions. Connect the wiring from the panels to a charge controller, which regulates the power flow and protects your battery from overcharging
- Set up the battery bank: To store the solar energy, you will need a deep-cycle battery bank. Deep-cycle batteries are designed to withstand repeated charge and discharge cycles. Connect the battery bank to the charge controller, ensuring proper polarity. It is recommended to use a battery monitor to keep track of the battery’s state of charge
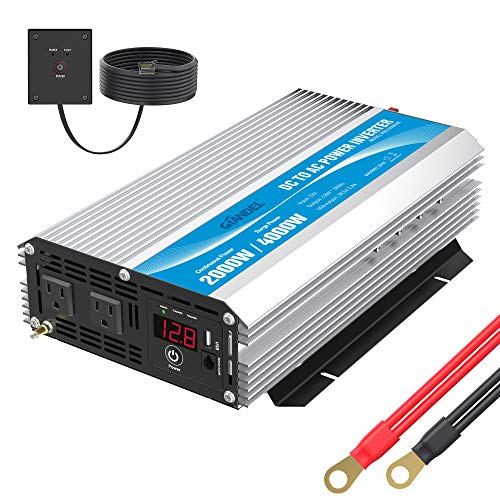
- Connect your devices or appliances: Use an inverter to convert the stored DC power from the battery bank into AC power, which can be used to run your devices or appliances. Take into account the wattage limitations of your inverter to ensure you do not exceed its capacity. Connect your devices or appliances to the inverter, and enjoy using solar energy to power them while on the go
- Remember, it’s important to do thorough research or consult with a professional to ensure your solar power system is properly designed, installed, and maintained for optimal performance