


In this step-by-step guide, we will walk you through the process of optimizing the placement of your solar powered fan. The purpose of this guide is to help you maximize the effectiveness and efficiency of your fan by finding the best location to harness the power of the sun. We will provide you with easy-to-follow instructions and tips to ensure that you get the most out of your solar powered fan. By the end of this guide, you will have a clear understanding of where to place your fan to achieve optimal performance. Let’s get started!
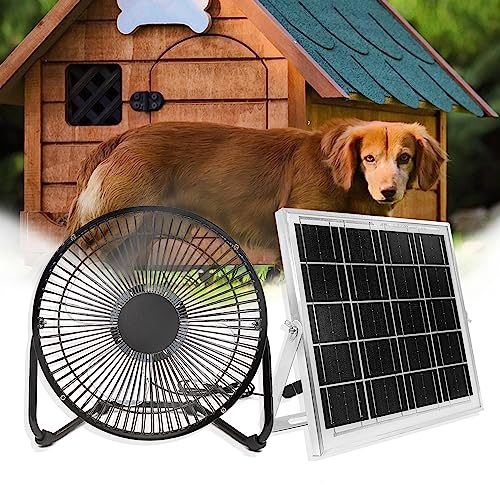
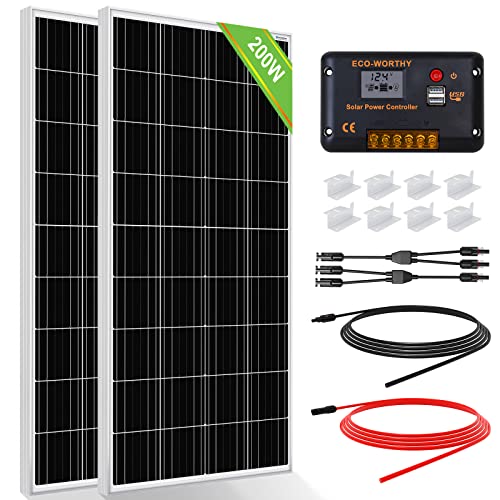
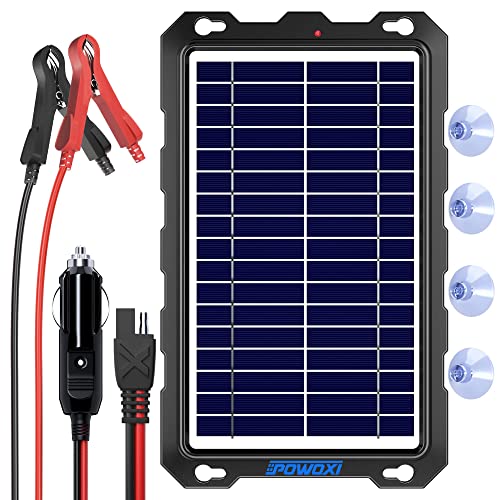
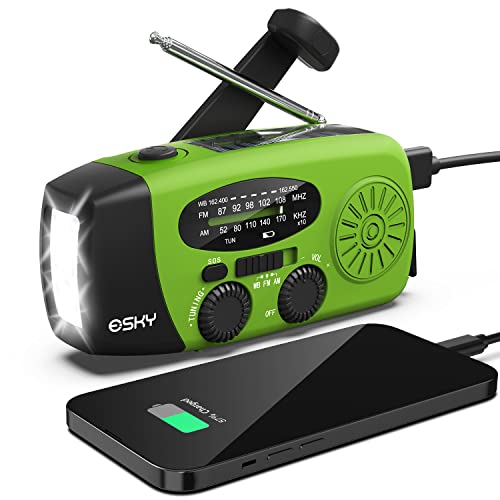
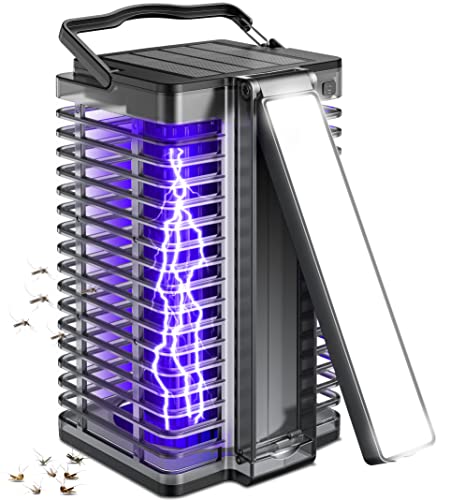
Top-Rated Solar Powered Fans


Choosing the Right Location
Evaluate your surroundings by checking for an area that receives ample sunlight throughout the day. Look for a spot that is free from any obstructions that could block the solar panels, such as tall buildings, trees, or structures. For example, you could consider placing your solar powered fan on a rooftop, a balcony, or in an open field. Make sure to position the fan in a way that allows the solar panels to directly face the sun for maximum efficiency.
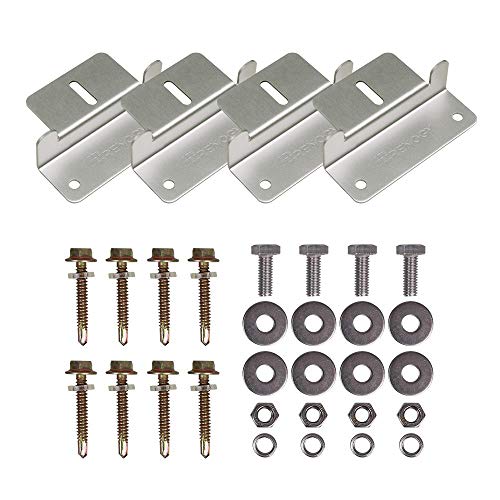
Mounting the Solar Panel
To securely mount the solar panel in the chosen location, begin by using the provided mounting brackets. Make sure to select a spot that receives ample sunlight throughout the day. Once you have identified the ideal location, attach the brackets to a stable surface using screws or bolts. Then, gently place the solar panel onto the brackets and secure it in place. Ensure that the panel is angled correctly to maximize sunlight exposure and adjust the angle if necessary. This will help optimize the panel’s performance and increase energy generation.
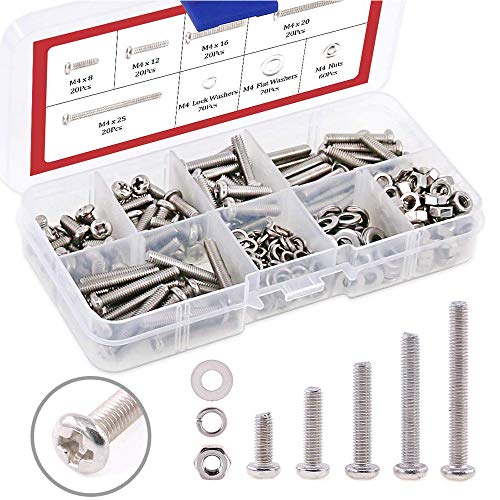
Installing the Fan Unit
To install the fan unit, securely attach it to a suitable surface, like a wall or ceiling, using the appropriate mounting hardware. Make sure the fan is positioned in a way that allows for proper airflow and ventilation. This will help in maintaining and improving the efficiency of the fan’s cooling capabilities.

Connecting the Wires
To connect the wires from the solar panel to the fan unit, follow the manufacturer’s instructions carefully. Start by ensuring that the connections are secure and tightly fastened to avoid any potential electrical hazards. It is important to check that the wires are properly insulated to prevent any accidental contact or short circuits. By adhering to these guidelines, you can safely and effectively establish the connection between the solar panel and the fan unit.
Testing the System
To test the system before fully installing the fan, first expose it to sunlight. Observe if the fan turns on and ensure that it operates smoothly without any unusual noises or vibrations. This step will help confirm that the system is functioning properly and ready for installation.


Securing the Wiring
To secure the wiring, start by gathering zip ties or cable clamps. Place them around the wires, ensuring they are tight enough to hold them in place but not too tight to cause damage. For example, use a zip tie to bundle together any loose or dangling wires and then secure it tightly. Alternatively, use cable clamps to fasten the wires to a nearby surface, such as the fan housing or a nearby wall. This will prevent the wires from getting tangled or being accidentally pulled, while also maintaining a tidy appearance.
Regular Maintenance
To periodically clean the solar panels, remove any dirt or debris that may reduce their efficiency. Check the wiring connections and fan unit for any signs of damage or wear, and address any issues promptly.
Monitoring Performance
Regularly monitor the performance of your solar powered fan by checking the airflow and ventilation it provides. Start by placing your hand near the fan to feel the air moving. If the airflow is insufficient, try adjusting the position of the fan or cleaning any obstructions. Additionally, ensure that the solar panel is receiving adequate sunlight and is clean. If necessary, reposition the panel or clean it with a soft cloth. By actively monitoring and making adjustments, you can optimize the effectiveness of your solar powered fan.
Key Takeaways
In conclusion, optimizing the placement of your solar-powered fan is crucial for its optimal performance. Throughout this guide, we have emphasized the importance of carefully selecting the right location, ensuring proper installation, and conducting regular maintenance.
By choosing a location with maximum sunlight exposure and minimal shading, you can enhance the efficiency of your fan and maximize its power generation. Proper installation, including securely mounting the fan and positioning the solar panel correctly, is essential to ensure optimal functionality.
Additionally, ongoing maintenance, such as regular cleaning of the solar panel and inspecting the connections, will help maintain the fan’s performance and extend its lifespan.
Remember, a well-placed and properly installed solar-powered fan not only helps to cool your space but also contributes to reducing energy consumption. We hope that the information provided in this guide has empowered you to optimize the placement of your solar-powered fan and enjoy its benefits for years to come.
Thank you for reading our guide on how to optimize the placement of your solar-powered fan.
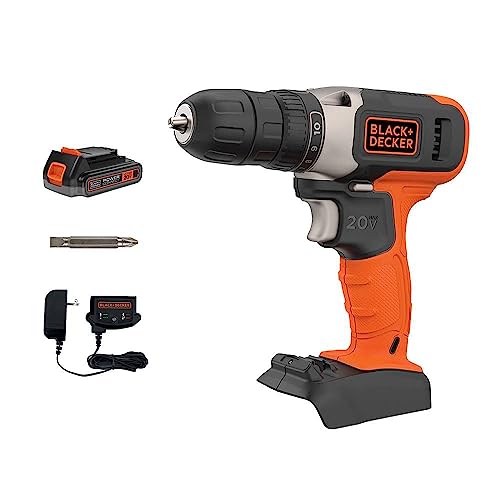
Essential Equipment


Efficient Cooling Techniques
Using the Solar Powered Fan: Step-by-Step Guide
- First, make sure to place the solar powered fan in direct sunlight. The fan’s solar panel needs to receive sunlight in order to charge and operate
- Once the fan is placed in sunlight, ensure that the solar panel is facing the sun. This will maximize the amount of energy being absorbed and stored by the fan’s solar panel
- The solar powered fan may have different speed settings. Use the switch or button provided to adjust the fan’s speed according to your preference
- Remember that solar powered fans rely solely on solar energy, so they may not operate at maximum efficiency on cloudy or rainy days. However, they may still provide some air circulation
- Lastly, it’s essential to keep the solar panel clean and free from dust or debris. Regularly wipe the solar panel with a clean cloth to ensure optimal charging and performance of the fan
Frequently Asked Questions about Solar Powered Fans
How long does it take to fully charge a solar powered fan?
To fully charge a solar-powered fan, the charging time depends on various factors. The primary factors include the capacity of the fan’s battery, the intensity of sunlight, and the efficiency of the solar panels.
Solar-powered fans typically come with different battery capacities, ranging from a few hundred milliampere-hours (mAh) to a few thousand mAh. A higher battery capacity would require more time to charge completely.
The intensity of sunlight also plays a crucial role in determining charging time. On a sunny day, with clear skies and direct exposure to sunlight, the solar panels can generate maximum power and charge the fan faster. However, under cloudy or shaded conditions, the charging time will increase as the solar panels receive less sunlight.
The efficiency of the fan’s solar panels is another significant aspect. More efficient solar panels can convert a higher percentage of sunlight into electrical energy, allowing the fan to charge more quickly.
In general, it can take anywhere between 4 to 10 hours to fully charge a solar-powered fan. However, this can vary depending on the factors mentioned above. We recommend referring to the manufacturer’s instructions or specifications for the specific fan model to get an accurate estimate of the charging time.
Are there any safety considerations when using a solar powered fan?
Yes, there are a few safety considerations to keep in mind when using a solar-powered fan. Firstly, it is important to ensure that the fan is designed and manufactured according to safety standards. Look for certifications or labels that indicate compliance with relevant safety regulations.
Secondly, when installing the fan, make sure to follow the manufacturer’s instructions carefully. This includes positioning the solar panel in a location where it can receive adequate sunlight and ensuring the fan is securely mounted or placed.
Additionally, as with any electrical device, it is important to avoid exposing the fan to water or other liquids, as this could result in electrical shock or damage to the device. Keep the fan away from sources of moisture, and do not use it in wet or rainy conditions.
Lastly, it is advisable to periodically inspect the fan for any signs of damage or wear. If you notice any frayed wires, cracks, or other issues, discontinue use and contact the manufacturer for guidance.
By following these safety considerations, you can enjoy the benefits of a solar-powered fan while minimizing any potential risks.