


In our step-by-step guide, “How to Create Your Own Hybrid Solar-Wind Power System,” we provide comprehensive instructions on building a hybrid solar-wind power system. The purpose of this guide is to enable individuals to harness renewable energy efficiently by combining the benefits of solar and wind power. By following our guide, you will be able to create a customized and sustainable energy solution that utilizes both sunlight and wind to generate electricity. We cover all aspects of the installation process, from selecting the right equipment to the final setup. So, whether you are looking to reduce your environmental impact or lower your energy bills, this guide will provide you with the knowledge and guidance to successfully create your own hybrid solar-wind power system.
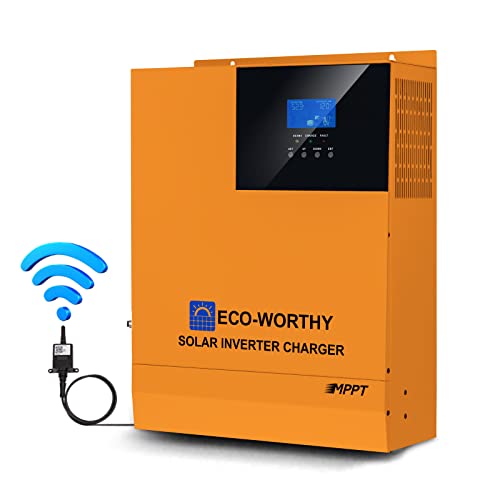
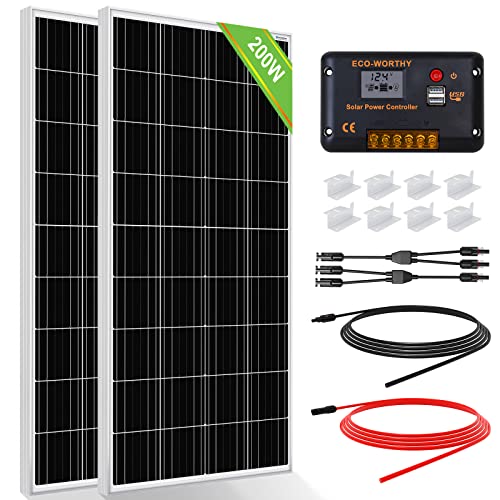
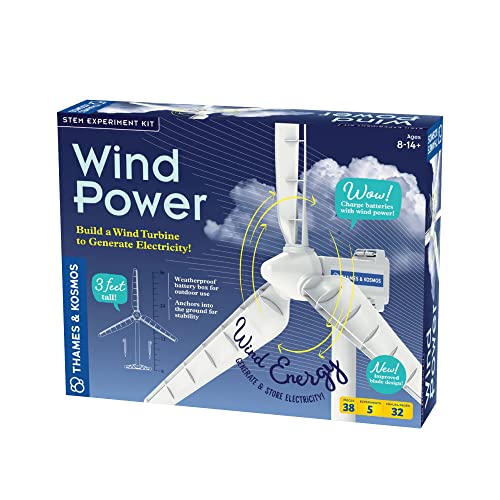
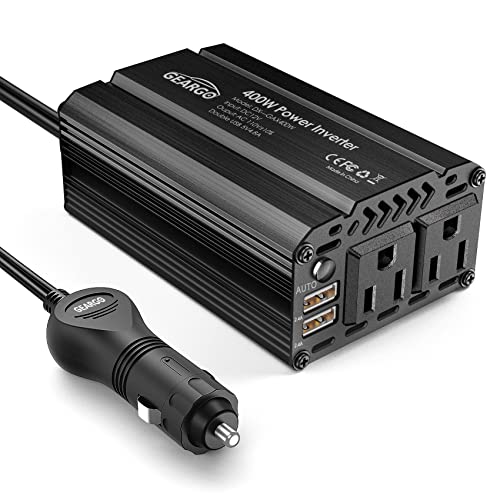
Top-selling hybrid solar-wind systems


Research and Planning
To begin your research and planning for a hybrid solar-wind power system, start by exploring the different components needed for such a system. Research solar panels, wind turbines, batteries, inverters, and charge controllers to gain an understanding of their functions and specifications.
Next, consider the energy needs of your household or business to determine the required system size. Calculate the amount of energy consumed on a daily basis and consider fluctuations due to seasonal variations.
Take into account factors such as your location, available space, and any local regulations and restrictions that may apply to installing renewable energy systems. Research local policies and permitting procedures to ensure compliance with the necessary guidelines.
Once you have gathered all the necessary information, it is time to create a detailed plan for the installation process. Determine the optimal positioning of the solar panels and wind turbines, taking into consideration factors such as sunlight exposure and wind patterns. Map out the layout of your system, noting the positioning of each component and how they will be connected.
By following these research and planning steps, you will be well-prepared to proceed with the installation of your hybrid solar-wind power system in a structured and informed manner.
![[Upgraded] 30A Solar Charge Controller, 12V/ 24V Solar Panel Regulator with Adjustable LCD Display Dual USB Port Timer Setting PWM Auto Parameter](https://m.media-amazon.com/images/I/41NTKPSODmL.jpg)
Gather the Equipment
Here are the steps to gather all the equipment you need for your hybrid system:
- Identify the equipment: Make a list of all the essential components required for your hybrid system, such as solar panels, wind turbines, batteries, inverters, charge controllers, and mounting hardware.
- Research and compare: Conduct thorough research to identify the best equipment options available in the market. Consider factors like compatibility, suitability for your location and energy requirements, quality, efficiency, and durability. Compare different brands and models to make an informed decision.
- Purchase the equipment: Once you have selected the equipment, proceed to purchase them. Look for reliable suppliers or retailers that offer high-quality products at competitive prices. Consider ordering from reputable online stores or visiting local renewable energy suppliers.
- Ensure compatibility: Before finalizing your purchases, double-check that all the components are compatible with each other. Ensure that the voltage and power ratings are suitable for your specific configuration.
- Consider package deals: Some suppliers offer package deals or bundles that include all the necessary components for a hybrid system. These packages can often provide better value for money and ensure compatibility between the components.
- Think about warranties: Check the warranties offered by the manufacturers. Look for equipment with longer warranties as they can provide additional peace of mind and protection for your investment.
For example, if you are setting up a hybrid system with both solar panels and wind turbines, you might need to purchase a solar panel kit that includes the panels, inverters, and mounting hardware, along with a separate wind turbine and charge controller. Ensure that all the purchased items are compatible with each other and suitable for your energy needs and location.
By carefully procuring all the necessary equipment, you can ensure a smooth and efficient installation process for your hybrid system.


Install the Solar Panels
To install the solar panels according to your plan, follow these steps:
- Mount the panels: Choose a sturdy structure such as the roof or a ground-mounted rack. Ensure that the location receives maximum sunlight throughout the day. Position the panels at an optimal angle to maximize solar energy absorption.
- Connect panels: Determine the wiring configuration based on your system design. Panels can be connected in series or parallel, depending on your electrical requirements. Follow the manufacturer’s instructions for proper wiring and connections.
- Secure panels: Use appropriate mounting hardware and techniques to secure the panels in place. This will ensure their stability and protect them from strong winds or other weather conditions. Consult the manufacturer’s instructions for recommended mounting methods.
- Verify connections: Double-check all connections to ensure they are secure and properly connected. This includes both the electrical wiring and the physical connections to the mounting structure.
By following these steps, you will be able to successfully install your solar panels and begin harnessing the power of the sun. Remember to always refer to the manufacturer’s instructions for specific details and requirements that may apply to your particular solar panel system.


Install the Wind Turbine
To install the wind turbine based on our plan, you need to follow these clear and easy-to-follow instructions:
- Choose a suitable location with sufficient wind resources: Find an area with a constant and strong wind flow. Avoid obstructions like tall buildings, trees, or other structures that may block the wind. A nearby elevation or clearing can enhance wind speed and energy production.
For example, instead of installing the wind turbine in a heavily forested area, choose an open field or hilltop where the wind can flow freely.
- Follow the manufacturer’s guidelines for tower height, anchoring, and wiring: Every wind turbine has specific requirements for tower height based on its rotor diameter and power rating. Install the tower according to the manufacturer’s instructions, ensuring it is sturdy and securely anchored to the ground.
For instance, if the wind turbine manufacturer recommends a tower height of 30 feet, make sure to construct the tower to that exact height.
- Ensure proper connection to the charge controller and batteries: The wind turbine must be connected to a charge controller and batteries to store the energy it generates. Follow the manufacturer’s guidelines for wiring the turbine to the charge controller, ensuring correct polarity and secure connections.
For example, connect the positive and negative terminals of the wind turbine to the corresponding terminals on the charge controller, making sure the wires are tightly secured.
- Comply with safety regulations and obtain necessary permits: Before installing the wind turbine, check local regulations regarding wind turbines and ensure compliance with safety standards. It is important to obtain any required permits or permissions from local authorities before starting the installation.
For instance, some areas may have noise restrictions, setback requirements, or height limitations for wind turbines. Make sure to adhere to these guidelines and obtain the necessary permits.
By following these instructions, you can successfully install the wind turbine in an appropriate location, ensuring optimal performance and compliance with regulations.


Connect the Charge Controller and Batteries
To install the charge controller and connect it to both the solar panels and wind turbine, follow these steps:
- Place the charge controller in a suitable location near the batteries and within reach of the solar panels and wind turbine cables.
- Ensure that the charge controller is securely mounted and that it has proper ventilation to prevent overheating.
- Connect the positive and negative wires from the solar panels to the designated input terminals on the charge controller. Ensure correct polarity by matching the positive (+) and negative (-) terminals.
- Connect the positive and negative wires from the wind turbine to the designated input terminals on the charge controller. Again, make sure to match the correct polarity.
- Connect the positive and negative wires from the batteries to the designated output terminals on the charge controller. Ensure correct polarity and connect the battery cables to the respective positive (+) and negative (-) terminals.
- Follow the manufacturer’s instructions for wiring and configuring the charge controller. This may include setting the charging algorithm, battery type, and other parameters based on your specific setup.
- Double-check all connections to ensure they are secure and properly insulated to avoid any short circuits or loose connections.
Remember to always refer to the manufacturer’s instructions for your specific charge controller model, as the wiring and configuration may vary.

Install the Inverter
To install the inverter, begin by connecting it to the batteries and the main electrical panel. Follow the manufacturer’s instructions carefully to ensure proper wiring and safety precautions are taken. Start by locating the positive and negative terminals on your batteries and the inverter. Connect the positive terminal of the battery to the positive terminal of the inverter using the appropriate gauge cables. Repeat this process for the negative terminals.
Next, locate the main electrical panel in your home or business. Identify the appropriate circuit breaker that will connect the inverter to the electrical panel. Turn off the circuit breaker to ensure safety during the installation process. Connect the output terminals of the inverter to the designated input terminals on the electrical panel using the recommended gauge cables.
Once the connections are made, double-check all wiring to ensure they are secure and properly insulated. Re-check the manufacturer’s instructions to ensure that all steps have been followed correctly. Finally, consider installing a backup generator or grid tie system as additional power supply options for times when the inverter may not be sufficient.
Remember, safety is of utmost importance when working with electrical components. If you are unsure about any step in the installation process, consult with a professional electrician for assistance.
Test and Maintain the System
After the installation is complete, test the hybrid solar-wind power system thoroughly to ensure it functions properly. Conduct a comprehensive check on all system components including the solar panels, wind turbine, batteries, charge controller, and inverter. This step is critical to identify any potential issues or inefficiencies that may impact the system’s performance.
To test the system, follow these steps:
- Inspect the solar panels and wind turbine: visually examine the panels and turbine for any physical damage or signs of wear and tear. Ensure they are securely mounted and in good condition.
- Check the batteries: verify the battery voltage levels using a voltmeter or digital multimeter. Ensure they are fully charged and functioning as expected.
- Inspect the charge controller: examine the controller for any loose connections, damaged wires or indicators of malfunction. Check if it is effectively regulating the charging and discharging of the batteries.
- Verify the inverter: check the inverter for any faults or abnormalities. Ensure it converts the DC power from the solar panels and batteries into AC power effectively.
After the initial testing, it is essential to monitor the system’s performance regularly to catch any potential problems or inefficiencies. Follow these steps for ongoing system maintenance:
- Regularly clean the solar panels: remove dirt, dust, leaves, or any other debris on the surface of the panels. Clean them with a soft brush or a damp cloth to maintain optimal efficiency.
- Inspect all connections: visually examine the wiring connections, terminals, and junction boxes for any signs of looseness or corrosion. Tighten any loose connections and clean any corroded parts.
- Replace worn-out parts: regularly check the condition of all system components and replace any parts that show signs of damage or wear and tear. This includes batteries, charge controllers, inverters, and other components.
By following these steps, you can ensure the optimal performance and longevity of your hybrid solar-wind power system. Regular testing and maintenance will help identify any issues promptly and ensure that your system operates efficiently for years to come.
Key Takeaways
In conclusion, creating your own hybrid solar-wind power system requires careful research, detailed planning, and proper installation. By combining both solar and wind energy sources, you can maximize renewable energy generation and potentially save on electricity costs. Throughout this guide, we have emphasized the importance of understanding your energy needs, selecting suitable equipment, and ensuring a proper setup. Remember to take advantage of available resources, such as online guides and professional expertise, to effectively design and install your system. With a well-executed hybrid solar-wind power system, you can contribute to a greener future while enjoying the benefits of clean, renewable energy.