


In this step-by-step guide, we will show you how to connect your solar energy storage system to the grid. Solar energy storage systems have become increasingly popular as a way to store excess energy generated by solar panels for later use. By following this guide, you will be able to harness the power of the sun and effectively connect your system to the grid, ensuring that you can use your stored energy whenever you need it. Whether you are looking to reduce your reliance on the grid or take advantage of time-of-use rates, this guide will provide you with the necessary steps to successfully connect your solar energy storage system.
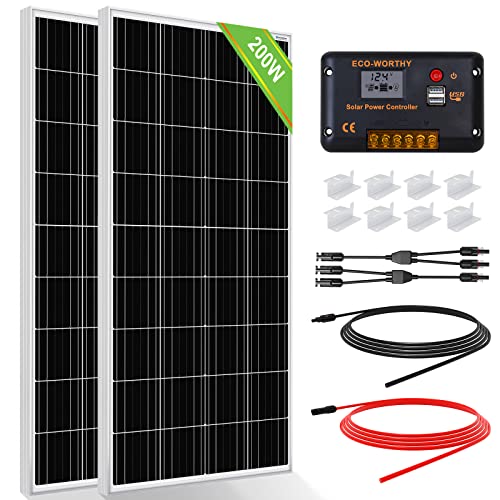
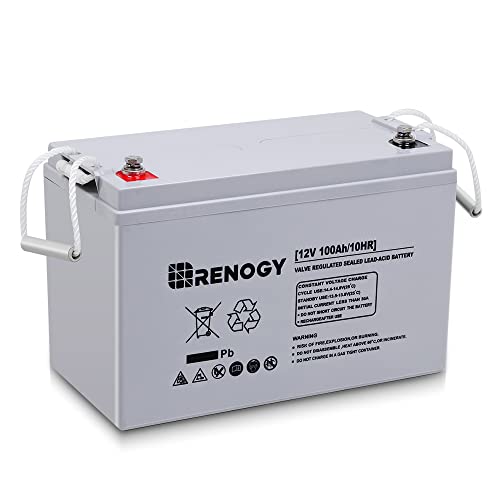
Top-rated Solar Energy Storage Solutions


Check local regulations and requirements
Before connecting your solar energy storage system to the grid, check local regulations and requirements to ensure compliance. Obtain the necessary permits, certifications, or inspections from the relevant authorities. This step is crucial to avoid any legal issues and ensure the safe and proper functioning of your system.
To start, research the local regulations in your area. Check with your city or county government or the appropriate regulatory agencies for specific requirements. Look for any codes or guidelines related to solar energy storage systems and grid connection.
Once you have a clear understanding of the regulations, determine what permits or certifications are required for your solar energy storage system. Some jurisdictions may require permits for the installation or connection of the system, while others may require certifications to ensure the system meets specific safety standards.
Contact the relevant authorities or departments to apply for the required permits. Provide all necessary documentation, including design plans, system specifications, and any other information requested. Be prepared to pay any fees associated with the permits.
In some cases, inspections may be required before or after the installation of your solar energy storage system. This is to ensure that the system is installed correctly and meets all safety requirements. Schedule an inspection with the appropriate department and ensure that the system is ready for inspection.
By taking these steps to check and comply with local regulations and requirements, you can ensure your solar energy storage system is properly connected to the grid and operates safely and legally. Remember to keep any permits, certifications, or inspection reports for future reference.

Ensure compatibility with the grid
Verify the compatibility of your solar energy storage system with the grid by following these steps:
- Check voltage requirements:
- Ensure that the voltage rating of your solar energy storage system matches the voltage of the grid. This information can usually be found in the system’s documentation or specifications.
- If there is a mismatch, consult with a professional electrician or contact the manufacturer of your system to determine if any modifications or additional equipment, such as a voltage transformer, are required.
- Verify frequency compatibility:
- Confirm that the frequency of your solar energy storage system matches the frequency of the grid. The most common frequency for residential grids is 60 Hz in North America and 50 Hz in most other parts of the world.
- If there is a frequency difference, consult an electrician or the manufacturer to ensure your system can operate safely and efficiently. Some systems may require frequency converters to synchronize with the grid.
- Consider other technical specifications:
- Evaluate additional technical requirements, such as maximum power output, power factor, and synchronization capabilities, to ensure seamless integration with the grid.
- Consult the system’s manual or contact the manufacturer for specific guidelines on how to verify these specifications and any other requirements.
Always prioritize safety when dealing with electrical systems. If you are unsure or uncomfortable with any aspect of the compatibility verification process, it is recommended to seek professional assistance from a qualified electrician or the manufacturer of your solar energy storage system.
![[Upgraded] 30A Solar Charge Controller, 12V/ 24V Solar Panel Regulator with Adjustable LCD Display Dual USB Port Timer Setting PWM Auto Parameter](https://m.media-amazon.com/images/I/41NTKPSODmL.jpg)


Install necessary equipment
To install the necessary equipment for grid connection, you will need to follow a few steps. First, begin with the installation of a bi-directional meter. Locate the appropriate location for the meter, typically near the service entrance. Mount the meter securely using the provided brackets and ensure it is aligned properly.
Next, move on to the installation of the inverter. Choose a suitable location for the inverter, such as an area with good ventilation and away from direct sunlight or excessive moisture. Follow the manufacturer’s instructions to mount the inverter securely, ensuring it is grounded properly.
Finally, install a disconnect switch. This switch should be used as a safety measure to isolate the system from the grid when necessary. Consult with a licensed electrician to determine the appropriate location and wiring for the switch.
Throughout the installation process, it is crucial to refer to the manufacturer’s instructions provided with each equipment. If you encounter any difficulties or have questions, do not hesitate to seek assistance from a licensed electrician. By following these steps, you can ensure the proper installation of the required equipment for grid connection.


Connect the solar energy storage system to the grid
To connect your solar energy storage system to the grid, follow these steps:
- Refer to the manufacturer’s instructions: Start by carefully reading and understanding the instruction manual provided by the manufacturer. This guide will provide specific details and requirements for connecting your solar energy storage system to the grid.
- Wiring the system: Begin by identifying the bi-directional meter that will be connected to your solar energy storage system. Follow the manufacturer’s directions to correctly wire the system to the meter. This step is crucial for the bi-directional flow of electricity between your system and the grid.
- Configuring the inverter settings: Once the wiring is complete, access the inverter settings as instructed in the manufacturer’s guide. Adjust the settings to ensure compatibility and proper functioning with the grid. This typically involves configuring parameters such as voltage, frequency, and power factor according to the grid specifications.
- Safety considerations: Prioritize safety throughout the installation process. Ensure that all electrical connections are secure and properly insulated. If you are unsure about any aspect of the procedure, consult a qualified electrician or contact the manufacturer’s customer support for assistance.
By closely following the manufacturer’s instructions, you can successfully connect your solar energy storage system to the grid. Remember to prioritize safety and seek professional help if needed.


Test the grid connection
To test the grid connection after connecting the system, we need to perform a series of tests to ensure everything is functioning properly and in accordance with safety standards. Here are some examples of what you should do:
- Check the voltage: Using a volt meter or a voltage logger, measure the voltage at different points in your system. Make sure that the voltage levels are within the allowable range specified by your local grid regulations. This will help ensure that your system is not putting too much stress on the grid and that it is receiving the proper amount of power.
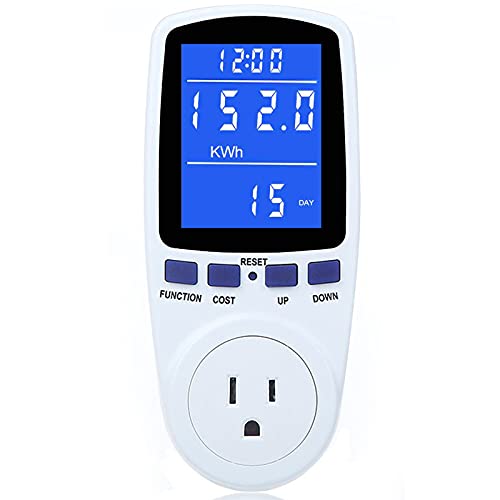
- Monitor energy flow: Use an energy meter or a power logger to monitor the energy flow in your system. Observe the amount of energy being generated by your system and compare it to the energy being consumed or fed back to the grid. This will help you verify that your system is generating the expected amount of energy and that it is properly integrated with the grid.
- Verify response to grid fluctuations: Introduce some grid fluctuations by either manually changing the load or turning off and on other devices connected to the grid. Observe how your system responds to these fluctuations. It should automatically adjust its output to match the changes in grid conditions. This test will help you ensure that your system is capable of adapting to variations in grid voltage and frequency.
By conducting these tests, you can ensure that your grid-connected system is functioning correctly, and that it complies with safety standards. Remember to consult your system’s user manual or contact a professional if you encounter any issues or require further assistance with the testing process.


Complete required paperwork
To complete the required paperwork, follow these steps:
- Gather the necessary forms: Check with your utility company or relevant authorities to determine which forms are required for interconnection agreements or net metering programs. Download or collect these forms in physical format.
- Read the instructions: Take the time to thoroughly read the instructions provided with the forms. This will ensure that you understand the requirements and can fill out the paperwork correctly.
- Provide accurate information: Fill out the forms with accurate and up-to-date information. This may include personal details, property information, energy usage data, and any other relevant information as outlined in the instructions.
- Follow guidelines: Pay close attention to any guidelines provided by the utility company or relevant authorities. This could include specific formatting instructions, required supporting documents, or any additional paperwork that needs to be included.
- Check for completeness: Before submitting, double-check that all fields have been completed accurately and all required documentation is included. Incomplete or incorrect paperwork may lead to delays in the processing of your application.
- Submit the paperwork: Finally, submit the completed paperwork to the utility company or relevant authorities through the preferred method outlined in the instructions. This may include mailing the documents, submitting them electronically, or using an online portal.
Remember, every utility company or authority may have their own specific requirements and guidelines, so it is crucial to carefully review and follow the instructions provided. By providing accurate information and following the required procedures, you can ensure a smooth process for completing the necessary paperwork.
Schedule inspections and approvals
To ensure compliance with local regulations, it is crucial to arrange for inspections and approvals of your project. Begin by identifying the specific requirements set forth by the authorities and determine which inspections and approvals are necessary. Once you have this information, follow the steps below to proceed:
- Contact the local regulatory agency: Reach out to the relevant local authority responsible for inspections and approvals. This could be a building department, fire department, or any other appropriate agency. Inquire about the specific inspections and approvals required for your project.
- Gather necessary documentation: Prepare all the required documentation to present to the inspector during the visit. Typically, this may include architectural plans, engineering reports, permits, and any other supporting evidence of compliance.
- Schedule the inspection: Coordinate with the local agency to set a date and time for the inspection. Be sure to provide all relevant details about the project, such as address, type of construction, and any specific areas or systems that need to be assessed.
- Prepare the site: Prior to the inspector’s arrival, ensure that the site is accessible and all relevant systems or components are ready for evaluation. Clear any obstructions that may hinder the inspection process and ensure that all safety measures are in place.
- Accompany the inspector: When the inspection date arrives, be present on-site to guide the inspector and provide any necessary information or clarification. Take note of any issues or recommendations highlighted by the inspector for further action.
- Address identified deficiencies: If the inspector identifies any deficiencies or non-compliance, promptly address and rectify them in accordance with the regulations. Keep records of the corrections made and communicate with the inspector, if required, to schedule another visit for re-inspection.
Remember, timely scheduling of inspections and approvals is essential to avoid delays in your project timeline. By adhering to local regulations and obtaining the necessary approvals, you ensure the safety and compliance of your construction or installation.
Key Takeaways
In conclusion, connecting your solar energy storage system to the grid requires careful attention to local regulations, compatibility with the grid, and adherence to manufacturer’s instructions. By familiarizing yourself with these key considerations, you can ensure a smooth and successful connection. Complying with local regulations guarantees that your system is installed safely and within the guidelines of your region. Ensuring compatibility with the grid ensures that your system will efficiently integrate with the existing power infrastructure. Lastly, following the manufacturer’s instructions is crucial for proper installation and operation of your energy storage system. By following these guidelines, you can confidently connect your solar energy storage system to the grid and maximize the benefits of clean, renewable energy for your home or business.