

In this step-by-step guide, we will cover the process of connecting a solar battery to your existing solar panel system. We understand that incorporating a solar battery into your system can be a valuable addition, as it allows you to store excess energy for later use. Our guide aims to provide you with clear instructions so that you can successfully integrate a solar battery into your solar panel setup. By following the steps outlined in this guide, you will be able to optimize the efficiency and effectiveness of your solar power system.
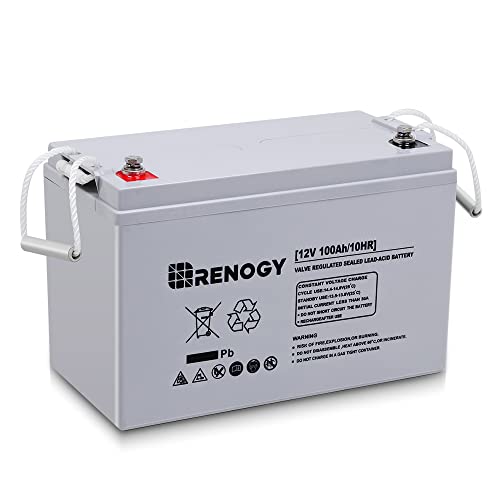
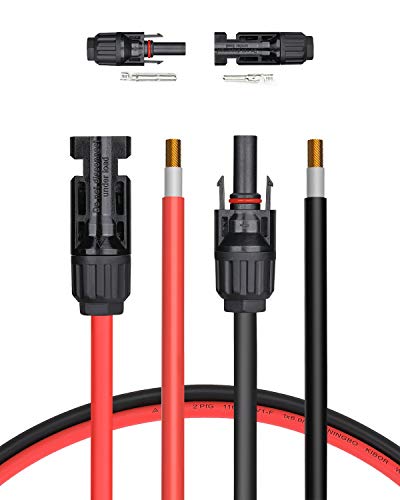
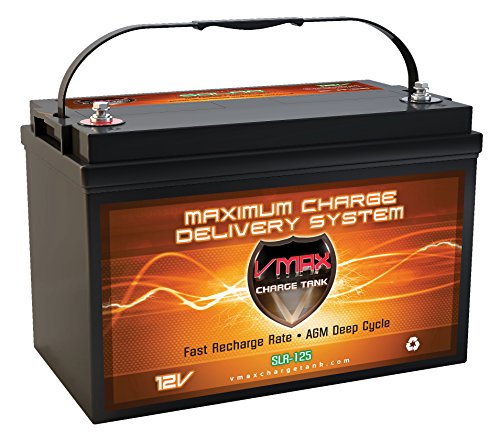
Top-Rated Solar Battery Options


Check Compatibility
To ensure compatibility between your solar battery and existing solar panel system, follow these steps:
- Consult the specifications of your solar panel system and identify the voltage and capacity requirements.
- Check the specifications of the solar battery, including its voltage and capacity ratings.
- Compare the specifications of the solar panel system and the solar battery to ensure they match.
- If the voltage and capacity ratings of the solar battery align with the requirements of your solar panel system, they are compatible.
Make sure to verify compatibility before purchasing a solar battery to avoid any compatibility issues or system malfunctions.

![[Upgraded] 30A Solar Charge Controller, 12V/ 24V Solar Panel Regulator with Adjustable LCD Display Dual USB Port Timer Setting PWM Auto Parameter](https://m.media-amazon.com/images/I/41NTKPSODmL.jpg)

Gather Tools and Equipment
To collect the necessary tools and equipment for your project, gather items such as screwdrivers, wire cutters, and connectors. You will need screwdrivers of various sizes, both flathead and Phillips head, to handle different types of screws. Wire cutters are essential for trimming and stripping wires, while connectors like terminal blocks or crimp connectors are required for joining wires securely. For example, a set of screwdrivers with different heads, wire cutters with insulated handles, and a variety of connectors for different wire sizes would be ideal for most electrical and mechanical projects.
Disconnect Power Source
To disconnect the power source of your solar panel system, first locate the main power switch or breaker in your electrical panel. Switch it off to cut off the power supply. This will ensure that no electricity is flowing through the system, minimizing the risk of electric shock or other hazards. For example, if you have a grid-tied solar system, turn off the main breaker in your electrical panel. If you have a stand-alone solar system, switch off the main disconnect switch or breaker located near your solar inverter.


Locate the Solar Battery Connectors
Identify the positive and negative connectors on your solar battery by following these steps:
- Inspect the battery terminals: Locate the battery terminals, which are metallic connectors on the top or side of the battery. These terminals will have a positive (+) and negative (-) marking.
- Check for color coding: Look for any color coding on the terminal connectors. Often, the positive terminal is marked in red, while the negative terminal is black.
- Identify the markings: If there is no color coding, check the connectors for any symbols or markings that indicate positive or negative polarity. These markings may include a plus (+) sign for the positive terminal and a minus (-) sign for the negative terminal.
- Consider cable size: In some cases, the positive connector might be slightly larger or have a thicker cable attached to it. This is due to the higher current flow in the positive circuit.
Remember, identifying the positive and negative connectors on your solar battery is crucial for proper installation and connection of your solar system components. This knowledge will ensure the smooth operation and efficiency of your solar power system.
Connect Positive Terminal
To connect the positive terminal of the solar battery to the positive connector on your solar panel system, follow these steps:
- Locate the positive terminal on the solar battery. It is usually labeled with a “+” sign.
- Identify the positive connector on your solar panel system. It is often marked with a red-colored screw terminal or a “+” symbol.
- Take the positive battery cable and attach it securely to the positive terminal of the solar battery. Ensure a tight connection by tightening any screws or nuts.
- Connect the other end of the positive battery cable to the positive connector on the solar panel system. Make sure it is securely fastened.
- Double-check all connections to ensure they are tight and properly aligned. Loose connections can lead to a loss in power or potential hazards.
Example:To illustrate, let’s say you have a solar battery with a positive terminal marked with a “+”. On your solar panel system, you find a red-colored screw terminal labeled as the positive connector. Take the positive battery cable and connect it firmly to the positive terminal of the solar battery. Then, attach the other end to the positive connector on the solar panel system, ensuring a secure connection. Verify all connections are tightened and aligned correctly to avoid any issues.


Connect Negative Terminal
To connect the negative terminal of the solar battery to the negative connector on your solar panel system, follow these steps:
- Locate the negative terminal on the solar battery and identify the negative connector on your solar panel system.
- Ensure that the solar panel system is switched off before proceeding.
- Using a suitable cable, connect the negative terminal of the solar battery to the negative connector on the solar panel system.
- Make sure the connection is secure and tight.
- Once the negative terminal is properly attached, you can proceed with the remaining connections and configurations of your solar panel system.
Remember to exercise caution and follow all safety guidelines when working with electrical components to ensure proper installation and operation of your solar panel system.
Secure Connections
To ensure secure connections, make sure that all connections are securely fastened. This means checking that all cables, wires, or connectors are properly plugged in and tightened. Inspect each connection to ensure that there are no loose or faulty connections that could compromise the stability and security of the connection. Remember to double-check the connections periodically to ensure they remain secure over time.
Reconnect Power Source
To reconnect the power source, locate the power supply for your solar panel system. Flip the switch or press the button to turn it on. After doing so, carefully observe for any signs of functionality, such as lights turning on or an increase in power output. If there are no visible signs, it may be necessary to troubleshoot further or consult a professional.
Monitor Battery Performance
To keep an eye on the performance of your solar battery and ensure its optimal functioning, follow these steps:
- Regularly check the battery monitor or management system, if available, for any performance indicators or error notifications.
- Monitor the voltage and current levels of the battery using a multimeter to ensure they are within the recommended range.
- Keep track of the battery’s state of charge (SOC) using a battery monitoring app or device. SOC should typically be maintained between 20% and 80% for optimal battery lifespan.
- Observe any unusual changes in the battery’s performance, such as decreased capacity or extended charging time, and investigate the potential causes.
By proactively monitoring your solar battery’s performance, you can identify any issues early on and take appropriate steps to maintain optimal functionality.
Consult a Professional if Needed
If you encounter any difficulties or are unsure about any step, seek assistance from a professional. Here are a few reasons why it is important to consult a professional when needed:
- Professionals have expert knowledge and experience in their field, ensuring they can provide accurate and reliable advice.
- They can help you navigate complex processes or regulations that you may not be familiar with.
- Professionals can save you time and effort by handling tasks efficiently and effectively.
- Seeking professional assistance can help you avoid costly mistakes or legal problems in the future.
Remember, it is always better to seek professional help if you are unsure rather than making incorrect decisions that could have long-term consequences.
Final Recommendations and Considerations
In conclusion, connecting a solar battery to your solar panel system is a great way to enhance the efficiency and reliability of your renewable energy setup. Throughout this guide, we have stressed the importance of ensuring proper connections and monitoring to achieve optimal performance.
By following the steps outlined in this blog post, you can safely and effectively integrate a solar battery into your existing solar panel system, enabling you to maximize self-consumption, store excess energy, and have a reliable backup power source.
Remember to consult the manufacturer’s instructions and local regulations to ensure compliance and safety. Regularly monitor the performance of your solar battery and make any necessary adjustments to maintain its functionality.
Ultimately, connecting a solar battery to your solar panel system allows you to harness the full potential of solar energy and take control of your electricity consumption. This not only reduces your reliance on the grid but also contributes to a greener and more sustainable future.
So, take the leap and connect a solar battery to your solar panel system today. Enjoy the benefits of increased efficiency, reliability, and environmental consciousness. Together, let’s embrace the power of solar energy for a brighter tomorrow.
Necessary Equipment


![ExpertPower 12v 33ah Rechargeable Deep Cycle Battery [EXP1233 ]](https://m.media-amazon.com/images/I/61o4jS-ia5L._SS520_.jpg)

